
If you’re here, you want to explore and build your own Journeys, using our DIY automation building tool, called the Quickwork iPaaS. If you’re a little lost on what we’re talking about, click here to know more about us, and then hurry back to understand more about building your own Journeys.
For the rest, let’s take a more in-depth look at what the Quickwork iPaaS is and how to work with it.
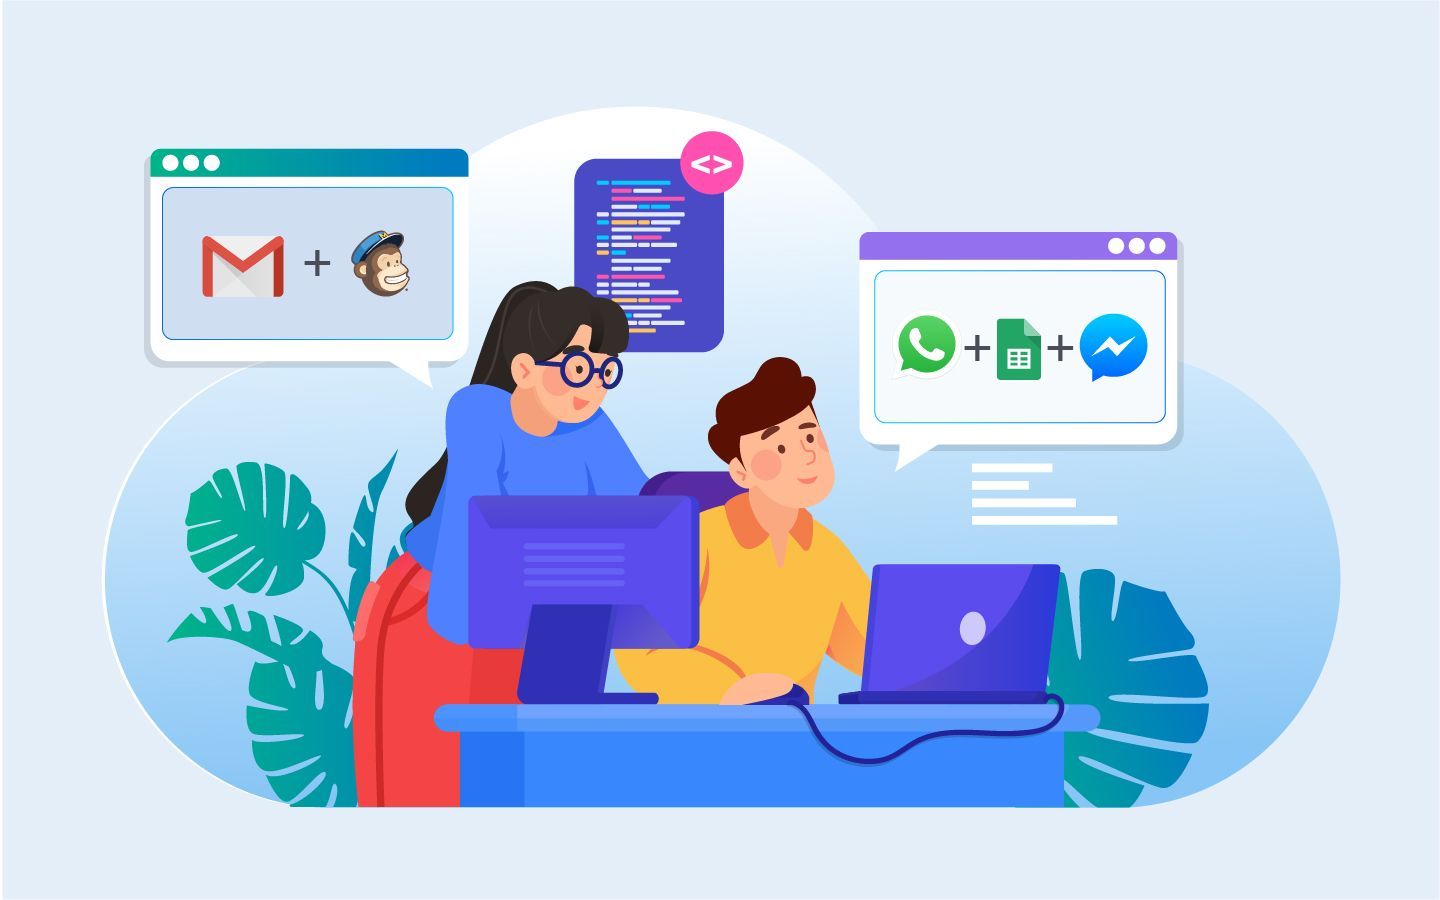
Quickwork iPaaS is an integration platform that allows you to connect two or more apps to work together and create simple or complex workflows based on your need. All of this is done requiring little to no code and takes place within a few mouse clicks. You have an extensive library of apps to choose from and start integrating Journeys to get you started.
The interface of the Quickwork iPaaS in a top-down approach. This means as and when you fill details, more options start opening up for you to fill in your information—making it easy for you to keep up with the steps.
Understanding the interface
Now we know you’re all excited to build your first Journey, and we promise to keep this easy breezy lemon squeezy- quick for you to understand. Imagine you’re an excellent baker, but you’ve been put in a new kitchen and been asked to prepare some fancy french dish like Ratatouille. Now no doubt you’d be able to do it, but you’d need someone just to show you around the ropes and tell you where everything is placed, so you don’t end up confusing your salt with your sugar. This part of the blog is exactly for that. We’re just trying to help you get familiar with the tool you’re going to soon fall in love with!
Once you register and sign in to your account, you’re going to be greeted with this screen. Now here you have three options highlighter:
- Folder: Similar to the folders on your laptop, it’s a way of making sure your dashboard does not end up looking cluttered and is a gentle reminder to clean up your desktop screen. Start by creating a folder; this is where your Journey’s will be placed. Based on different Journey’s you can create different folders, so everything stays organised. It is something you will love if you were one of those who labeled all your stationery as a kid.
- Browse our pre-built journeys: Once you’ve created a folder, you can start by browsing our pre-built journeys and see how those work for you!
- Create your own journeys: We just put this bullet points for fun, this deserves a heading of its own cause now we’re getting to the fun part that the creator in you has been waiting for!
Creating your own journeys
We promise you it’s not rocket science, in fact, it’s even easier than planning a physical journey to say Goa with some of your closest friends. So by now, you know you have to register or sign in and create a folder. Once you’re done with that follow these simple steps to create a Journey:
- Click on create a new journey button: Once you’ve clicked on creating a New Journey button, you’ll be redirected to the Journey Builder Dashboard. Here you can name your Journey and place it in a folder. Once you’ve successfully done this, you can start experimenting with the steps of creating a Journey that involves triggers and actions.
- Understanding triggers and actions: To create a Journey you require triggers and actions. You’re going to be reading a lot about these two words here, so you might want to make a game out of it. Let’s do this with an example: Take Facebook Messenger and Gmail for instance. You want to create a journey where you get an email via Gmail each time when someone sends a message to you using Facebook Messenger. So in this case you select Facebook Messenger first and set it as the trigger. The trigger being any new message received. Then you proceed to select an action, so you click on an app like say Gmail, for example, and set an action within Gmail to receive emails from Facebook Messenger each time someone messages, and BAM you have a Journey! Once you save it, and test it out…
- Saving your journey: Once you’ve created your Journey and configured your triggers and actions, all you need to do is click on the save changes option. You can always come back to this later to add more things to your Journey. Also, after saving click on Start Journey, this will run a quick error test and execute your Journey for you.
- Testing and executing your journey: This is the fun part. Go to Facebook Messenger and test your journey by sending a message . Then check your Gmail inbox to see the same message got received as an email.
Stop over to your journey
While it was fun planning the itinerary to building a Journey using the Quickwork iPaaS, now it’s time for you to get more hands-on and get your hands dirty with some automation. The Quickwork platform is your oyster.
Incase you need more information on building Journey’s you can refer to our more in-depth guide by clicking here. Also we’d love to here from you if there’s anything else you’d want to know.


